
A step-by-step guide to roof installation begins with understanding different roofing types, like asphalt shingles and metal roofs, and assessing your current roof for damage. Choose appropriate materials based on climate and aesthetics. Gathering essential tools, such as a roofing nailer and safety gear, is crucial. Prepare for installation by inspecting the structure and obtaining necessary permits. Remove old roofing carefully, ensuring debris management and structural integrity. Now you are ready to install the underlayment and lay new roofing. With these foundational steps established, discover the finishing touches that enhance your home’s roofing project.
Key Takeaways
- Assess your current roof for damage and age to determine if replacement is necessary before starting the installation process.
- Choose suitable roofing materials based on climate, budget, and aesthetic preferences to ensure long-term performance and appeal.
- Gather essential tools such as a roofing nailer, ladder, and safety equipment to facilitate a safe and efficient installation.
- Prepare the installation area by ensuring compliance with local building codes, obtaining permits, and notifying neighbors of the upcoming work.
- Remove old roofing materials safely, inspect the underlying structure for damage, and dispose of debris responsibly before installing the new roof.
Understanding Roof Types
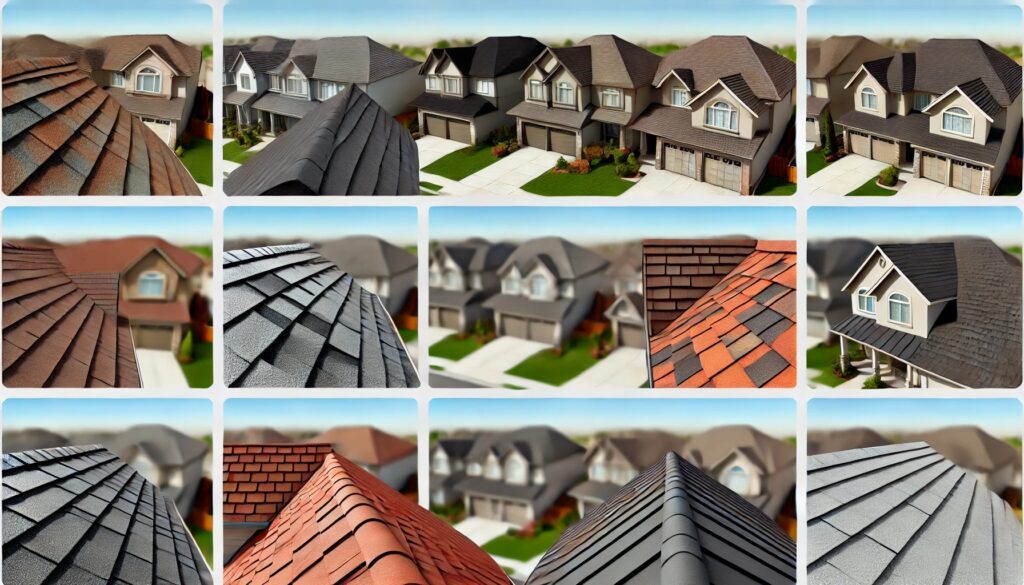
When selecting a roof type, it is essential to understand the various materials and designs available, as each offers distinct advantages and considerations for durability, aesthetics, and climate suitability. The primary roof types include asphalt shingles, metal roofing, tile, and flat roofing systems, each catering to different needs and preferences.
Asphalt shingles are the most commonly used roofing material due to their affordability, ease of installation, and variety of colors and styles. They typically last 15 to 30 years, depending on the quality and maintenance.
Metal roofing, on the other hand, is known for its longevity and resistance to extreme weather conditions, often lasting 40 to 70 years. This option is increasingly popular for its energy efficiency as it reflects heat, potentially lowering cooling costs.
Tile roofs, predominantly made from clay or concrete, offer a distinctive aesthetic appeal and exceptional durability, often exceeding 50 years of life. Their weight and installation complexity require a reinforced structure, making them suitable for specific architectural styles and climates.
Alternatively, flat roofing systems, commonly found on commercial buildings, use materials like EPDM or TPO. These roofs can be less expensive but require regular maintenance to prevent water pooling and leaks.
Ultimately, the choice of roof type should consider local climate, budget constraints, and the architectural style of the home. Understanding these factors will enable homeowners to make informed decisions that align with their specific needs and preferences.
Assessing Your Current Roof
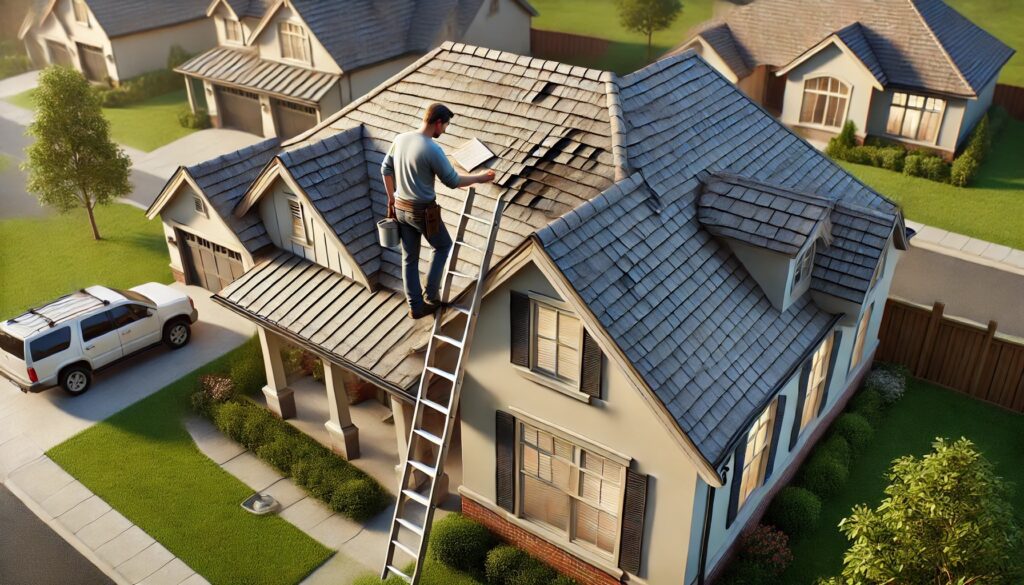
Evaluating your current roof is an important step in determining whether a replacement is necessary or if repairs can extend its lifespan, especially after considering the various roofing types and their respective durability.
Begin your assessment by conducting a visual inspection of both the interior and exterior of your roof. Look for signs of damage such as missing or curled shingles, cracks, or discoloration. Pay special attention to areas around chimneys, vents, and skylights where leaks are more likely to occur.
Next, check for water stains or mold growth on the ceilings and walls within your home. These indicators often suggest compromised roofing materials that may require immediate attention.
Additionally, assess the age of your roof. Most roofing materials have a specific lifespan; for instance, asphalt shingles typically last 15 to 30 years, while metal roofing can endure 40 to 70 years. If your roof is nearing the end of its expected life, a proactive replacement may be advisable.
Furthermore, consider the impact of local weather conditions on your roof’s integrity. Regions that experience heavy snowfall, hail, or high winds may subject roofs to more significant wear and tear.
Lastly, consult with a professional roofing contractor who can provide a comprehensive evaluation and recommend the best course of action based on your specific situation. By thoroughly assessing your current roof, you can make an informed decision that ensures the safety and longevity of your home.
Choosing Roofing Materials
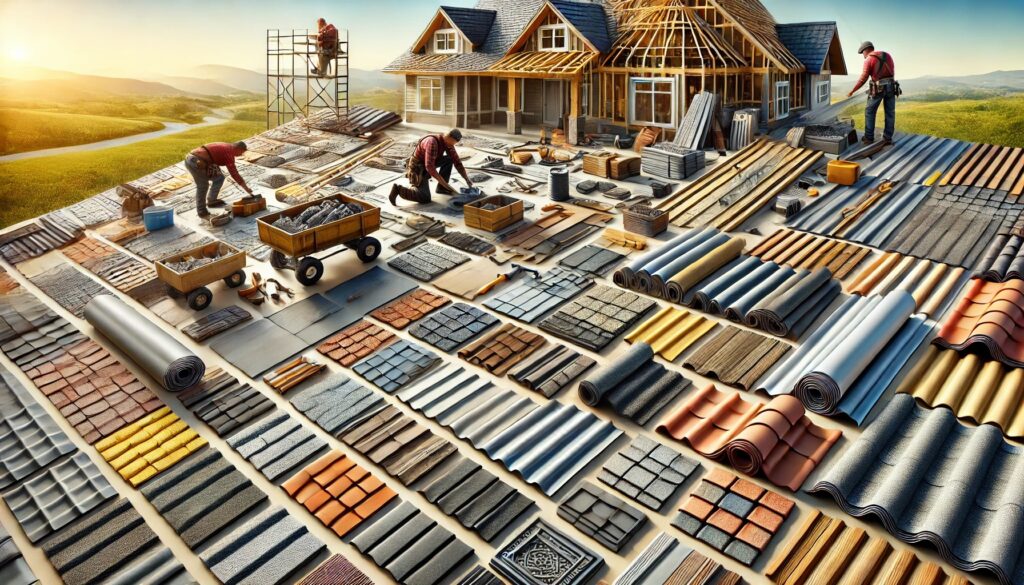
Selecting the right roofing materials is crucial for ensuring durability, aesthetic appeal, and effective protection against the elements. The choice of materials can significantly impact the lifespan of your roof, energy efficiency, and even your home’s resale value. Therefore, it is essential to consider various factors before making a decision.
Firstly, evaluate the climate in your area. Different materials perform better under specific weather conditions. For instance, regions with heavy snowfall may require sturdier materials, while warmer climates may benefit from reflective surfaces to reduce heat absorption.
Additionally, consider the following roofing material options:
- Asphalt Shingles: Affordable and available in various colors, they are widely used and easy to install.
- Metal Roofing: Known for its longevity and resistance to harsh weather, metal roofing is increasingly popular among homeowners.
- Clay or Concrete Tiles: Highly durable and energy-efficient, these materials provide excellent insulation but can be heavier and more expensive.
- Wood Shingles or Shakes: Offering a classic appearance, wood materials can be susceptible to fire and rot if not properly maintained.
- Synthetic Roofing: A modern alternative, synthetic options can mimic the appearance of more traditional materials while being lighter and more durable.
Ultimately, consider your budget, aesthetic preferences, and local building codes when choosing roofing materials. A well-informed decision will not only enhance your home’s appearance but also ensure its protection for years to come.
Gathering Necessary Tools

Before commencing the roof installation process, it is essential to gather all necessary tools to ensure efficiency and safety throughout the project. A well-prepared toolkit not only expedites the installation but also minimizes the risk of accidents and enhances overall quality.
The primary tools needed for roof installation include a roofing nailer or hammer, which is vital for securing roofing materials. A ladder rated for the appropriate height and weight is crucial for safe access to the roof. Additionally, a pry bar or roof shovel will facilitate the removal of old roofing materials if necessary. A utility knife is also indispensable for cutting roofing materials to size.
Personal protective equipment (PPE) is essential; this includes safety goggles, gloves, and a hard hat to safeguard against potential hazards. A chalk line will help ensure straight seams during installation, while a measuring tape is necessary for accurate measurements. Furthermore, a square and level will ensure that your roof is structurally sound.
Consider including a caulking gun for applying sealant around vents and chimneys, as well as a roofing square to assist in layout planning. Lastly, a sturdy work belt can keep essential tools easily accessible, preventing unnecessary trips up and down the ladder.
Preparing for Installation

Thoroughly assessing the roof’s structural integrity and securing the necessary permits are crucial steps in preparing for installation.
Before beginning any roofing project, homeowners must ensure that their roof can support the new materials and withstand environmental factors. This involves inspecting for any signs of damage or wear, including sagging, leaks, or rot.
Additionally, obtaining the required permits from local authorities is essential to comply with building codes and regulations. Failure to secure these permits can lead to fines or issues when selling the home in the future.
To effectively prepare for installation, consider the following checklist:
- Conduct a Structural Assessment: Examine trusses, rafters, and decking for damage or inadequacy.
- Check Local Building Codes: Research regulations specific to roofing in your area.
- Obtain Necessary Permits: Submit applications to local authorities well in advance.
- Review Weather Conditions: Choose a time for installation that avoids inclement weather, ensuring a smooth process.
- Notify Neighbors: Inform adjacent homeowners about the upcoming work to minimize disruptions.
Removing Old Roofing
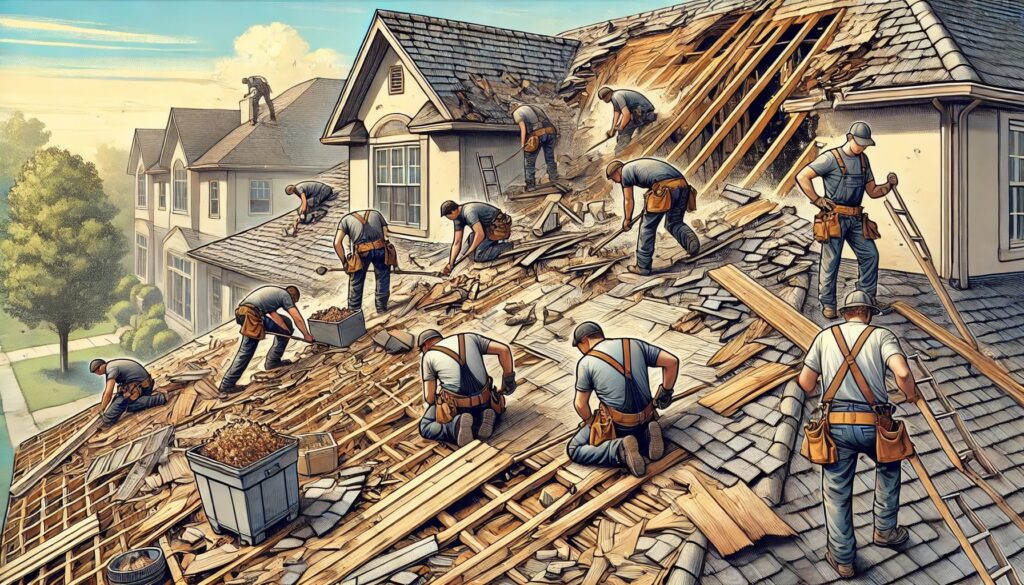
How can homeowners effectively remove old roofing materials to prepare for a new installation?
The process begins with the necessary safety precautions. Homeowners should don appropriate safety gear, including gloves, goggles, and a hard hat, to protect against debris. It is also advisable to have a sturdy ladder and fall protection equipment to ensure safety while working at heights.
Next, homeowners should begin by removing any existing shingles or roofing materials. This can be accomplished using a roofing shovel or pry bar, which allows for easy lifting of shingles from the roof deck. It’s essential to work from the top down, removing shingles row by row to prevent damage to the underlying structure. Homeowners should also be cautious of nails and fasteners, as these can pose safety hazards.
Once the shingles are removed, it’s important to clear away any remaining underlayment and debris. This will provide a clean surface for the new roofing materials.
Inspecting the roof deck for damage is crucial at this stage; any rot or weakness should be addressed before proceeding with the new installation.
Installing Underlayment
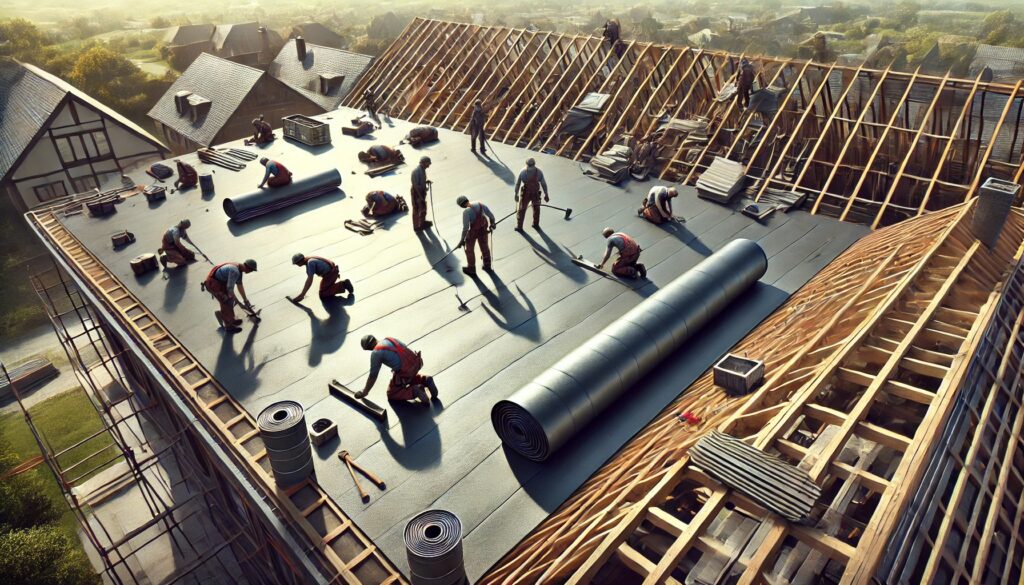
The installation of underlayment is a critical step in roofing, providing an additional layer of protection against moisture and enhancing the overall durability of the roofing system. This membrane acts as a barrier, preventing water infiltration and safeguarding the underlying structure. Proper installation of underlayment ensures that your roof can withstand the elements, prolonging its lifespan and maintaining the integrity of your home.
To effectively install underlayment, follow these key steps:
- Choose the Right Material: Depending on your climate and roofing type, select a suitable underlayment material, such as felt paper or synthetic options.
- Prepare the Roof Deck: Ensure that the roof deck is clean, dry, and free of debris before beginning installation.
- Start at the Eaves: Begin laying the underlayment from the lowest point of the roof, overlapping the edges to create a seamless barrier.
- Secure with Fasteners: Use roofing nails or staples to secure the underlayment, placing fasteners at least 6 inches apart to prevent wind uplift.
- Overlap Rows: When installing multiple rows, ensure that each successive row overlaps the previous one by at least 4 inches to maintain water resistance.
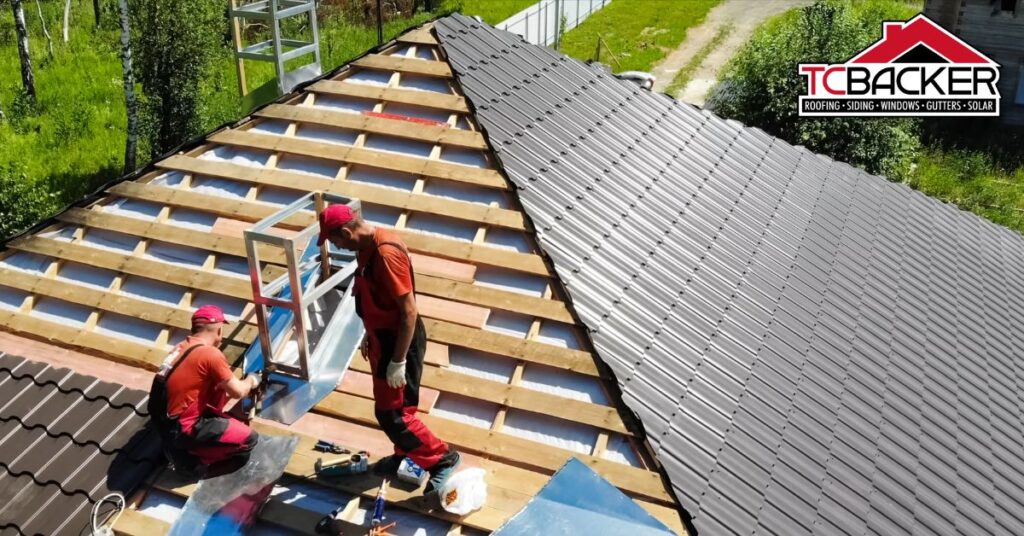
Laying New Roofing
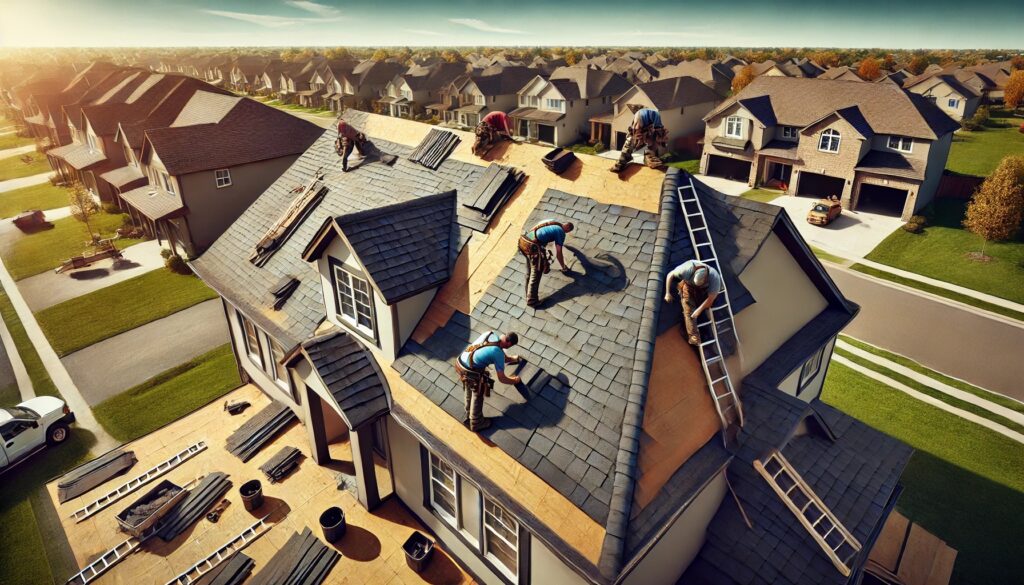
Laying new roofing requires careful planning and execution to ensure a durable, weather-resistant finish that enhances the home’s protection and aesthetic appeal. Before beginning, confirm that the underlayment is securely installed, as it acts as a barrier against moisture. Select the appropriate roofing material, whether asphalt shingles, metal panels, or tiles, based on your climate, budget, and design preferences.
Start at the roof’s edge, aligning the first row of materials according to the manufacturer’s instructions. This initial layer is crucial; it sets the foundation for all subsequent rows. As you continue laying roofing, stagger the seams of the materials to provide added strength and prevent water infiltration. Utilize roofing nails that penetrate the decking adequately, ensuring they are placed in designated areas to avoid potential leaks.
Working from the bottom up helps maintain proper drainage, allowing water to flow off the roof efficiently. For sloped roofs, ensure each row overlaps the one below it adequately. In contrast, flat roofs will require careful attention to seams and flashing to prevent ponding and leaks.
Maintain a consistent pattern and check for alignment as you proceed. Should you encounter obstacles, such as chimneys or vents, carefully cut and fit the roofing material around these features, ensuring a tight seal. Regularly step back to evaluate your progress, ensuring that the aesthetic appeal aligns with your vision while maintaining structural integrity. Properly laying new roofing is critical for long-lasting performance and safeguarding your investment.
Finishing Touches

Completing the roof installation involves several critical finishing touches that ensure both functionality and visual appeal. These elements not only enhance the roof’s integrity but also contribute to the overall aesthetic of your home. Paying attention to these details can make a significant difference in the longevity and performance of your roofing system.
Key finishing touches include:
- Flashing Installation: Properly installed flashing around chimneys, vents, and valleys prevents water intrusion and protects vulnerable areas of the roof.
- Ridge Caps: These caps provide a finished look while allowing ventilation at the peak of the roof, helping to regulate temperature and moisture.
- Gutter System: Ensuring your gutters are correctly installed and functional is crucial for directing water away from the roof and foundation, preventing potential damage.
- Ventilation: Installing appropriate ventilation systems, such as soffit vents or ridge vents, aids in air circulation, which is essential for prolonging roof life and maintaining energy efficiency.
- Final Inspection: Conduct a thorough inspection of the entire roof to identify any potential issues, ensuring that all components are securely in place and functioning correctly.
Final Thoughts
Installing a new roof is a major project that demands thorough planning and careful execution. By understanding the process— from evaluating your current roof to selecting the best materials and ensuring proper installation— homeowners can achieve a durable, safe, and aesthetically pleasing roof. While DIY can be an option, partnering with experienced professionals ensures that each step is carried out flawlessly for long-lasting protection.
When it comes to something as critical as your roof, trust the experts at TC Backer Construction. With our professional expertise and commitment to quality, we make sure your roofing project is done right the first time. Contact us today or reach out online to schedule your consultation. Let TC Backer safeguard your home with precision and care!